

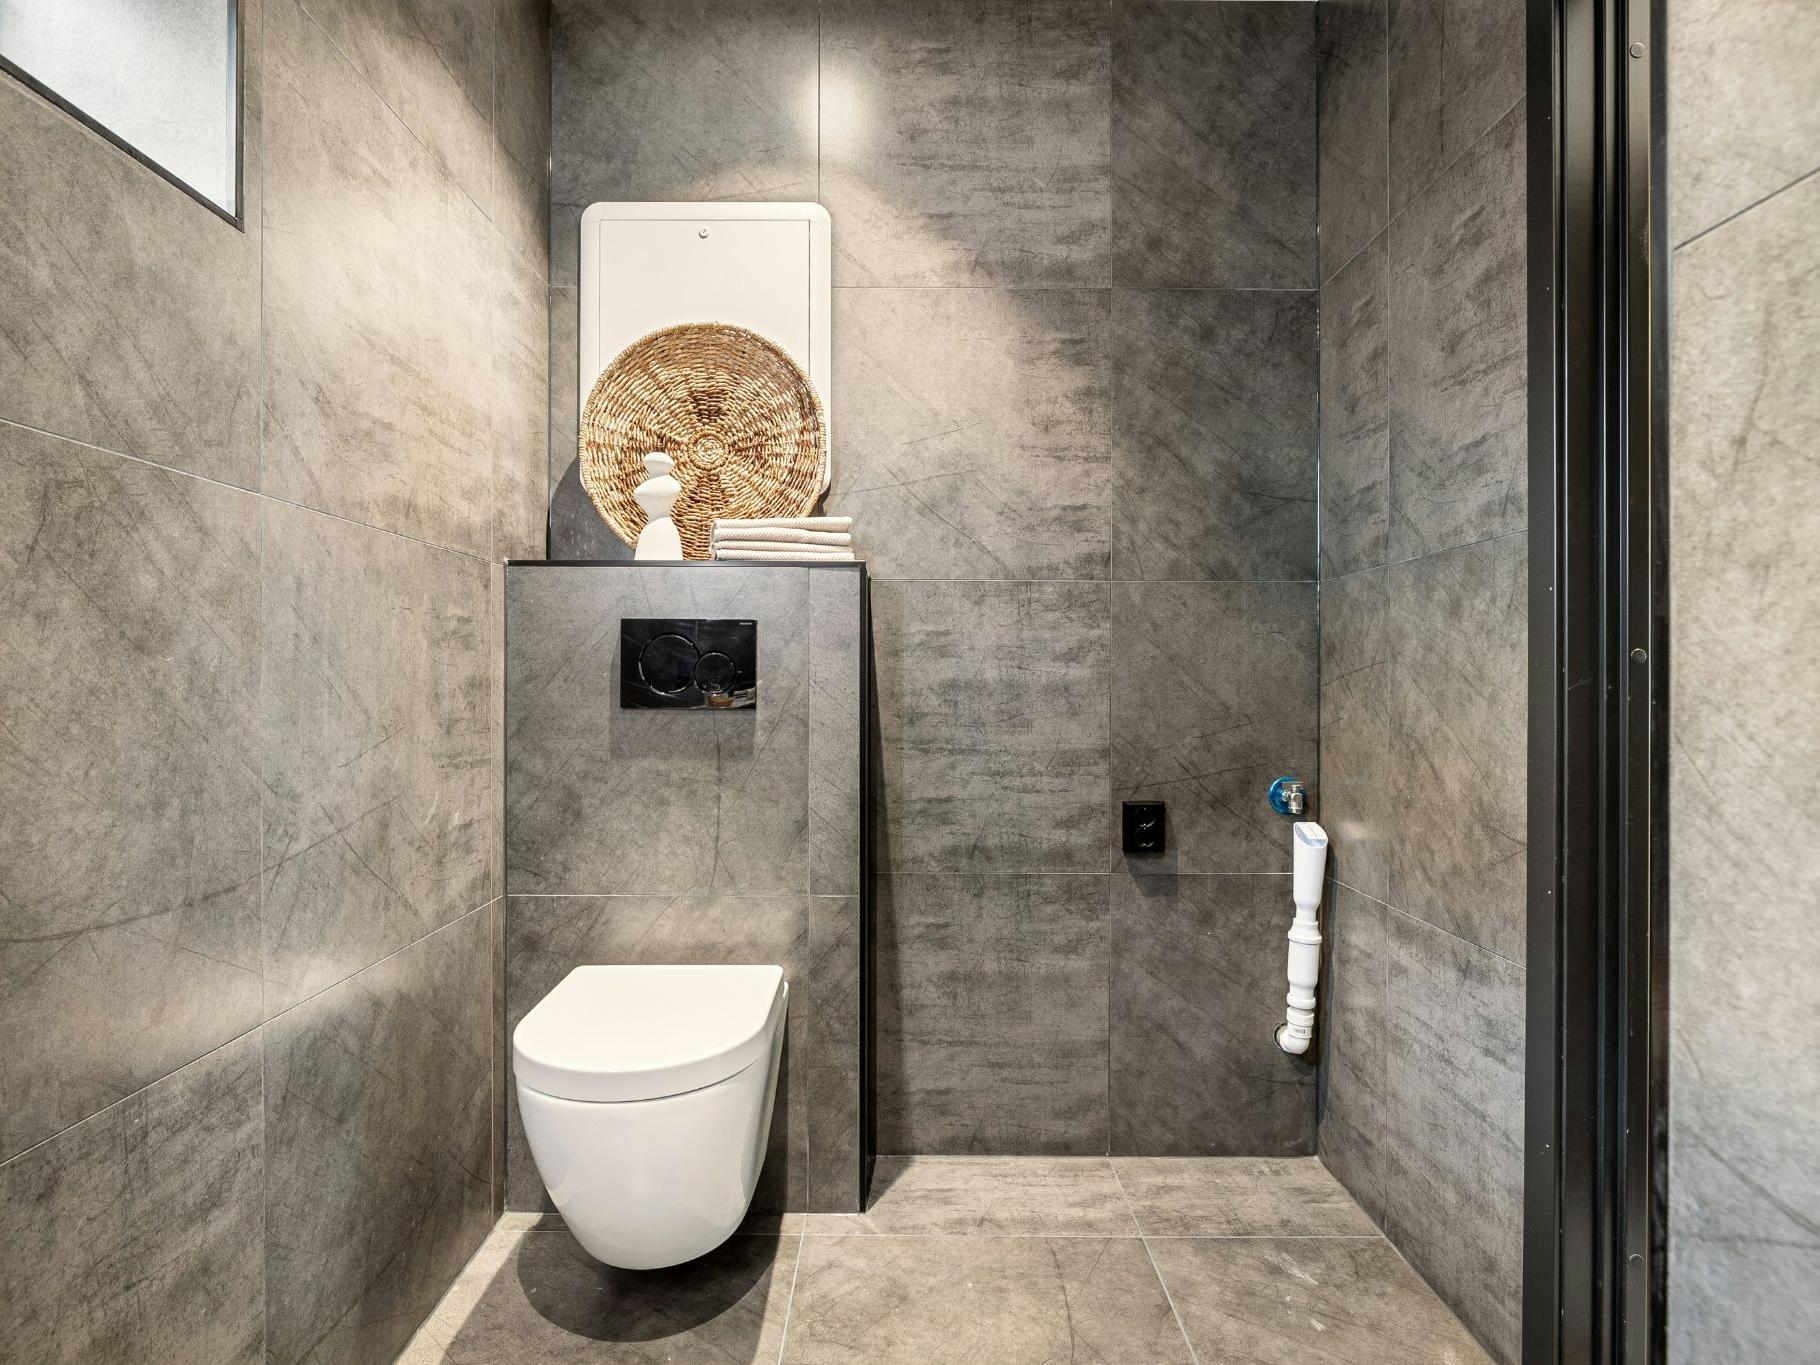
Source: Lisa Anna from Unsplash.
Smart toilets can offer more than a few benefits for homeowners, which is why they’re getting more and more popular. But, not everyone knows how to install a smart toilet. Thankfully, you don’t always need to hire a professional to get it done.
Let’s dive into what’s needed and how you can get it done in a few hours, as long as you’re willing to put a little elbow grease into it.
What is a Smart Toilet?
A smart toilet is an advanced toilet system that combines traditional flushing with tech-driven comfort features. Depending on the model and manufacturer, these toilets can include:
- Automatic Flushing
- Heated Seats
- Bidet Washing
- Air Drying
- Motion Sensors
- Self-Cleaning Nozzles
- Remote Controls
- Water-Saving Dual Flush Systems
Unlike standard toilets, these need both a plumbing connection and an electrical one to function properly. This means it needs more than just a conventional installation. Let’s take a look at what’s needed.
Tools and Materials You’ll Need to Install a Smart Toilet
Before you get around to your smart toilet installation, it’s worth making sure you have everything you need first. Outside of the smart toilet itself, the essential tools you’ll need include:
- Adjustable wrench
- Screwdriver set
- Tape measure
- Putty knife
- Level
- Power drill
- Bucket and towels
- Silicone caulk gun
These tools make sure you can actually do everything you need when you’re installing a smart toilet. Then there are the materials themselves, which include:
- Wax ring or rubber gasket
- Toilet mounting bolts
- Water supply hose
- Teflon tape
- GFCI electrical outlet (if needed)
A GFCI electrical outlet is needed by most smart toilets. If you don’t already have one in your bathroom, you’ll need to install one. Swapping it in for an outlet that’s already there could be a great idea.
Preparing Your Bathroom for Installation
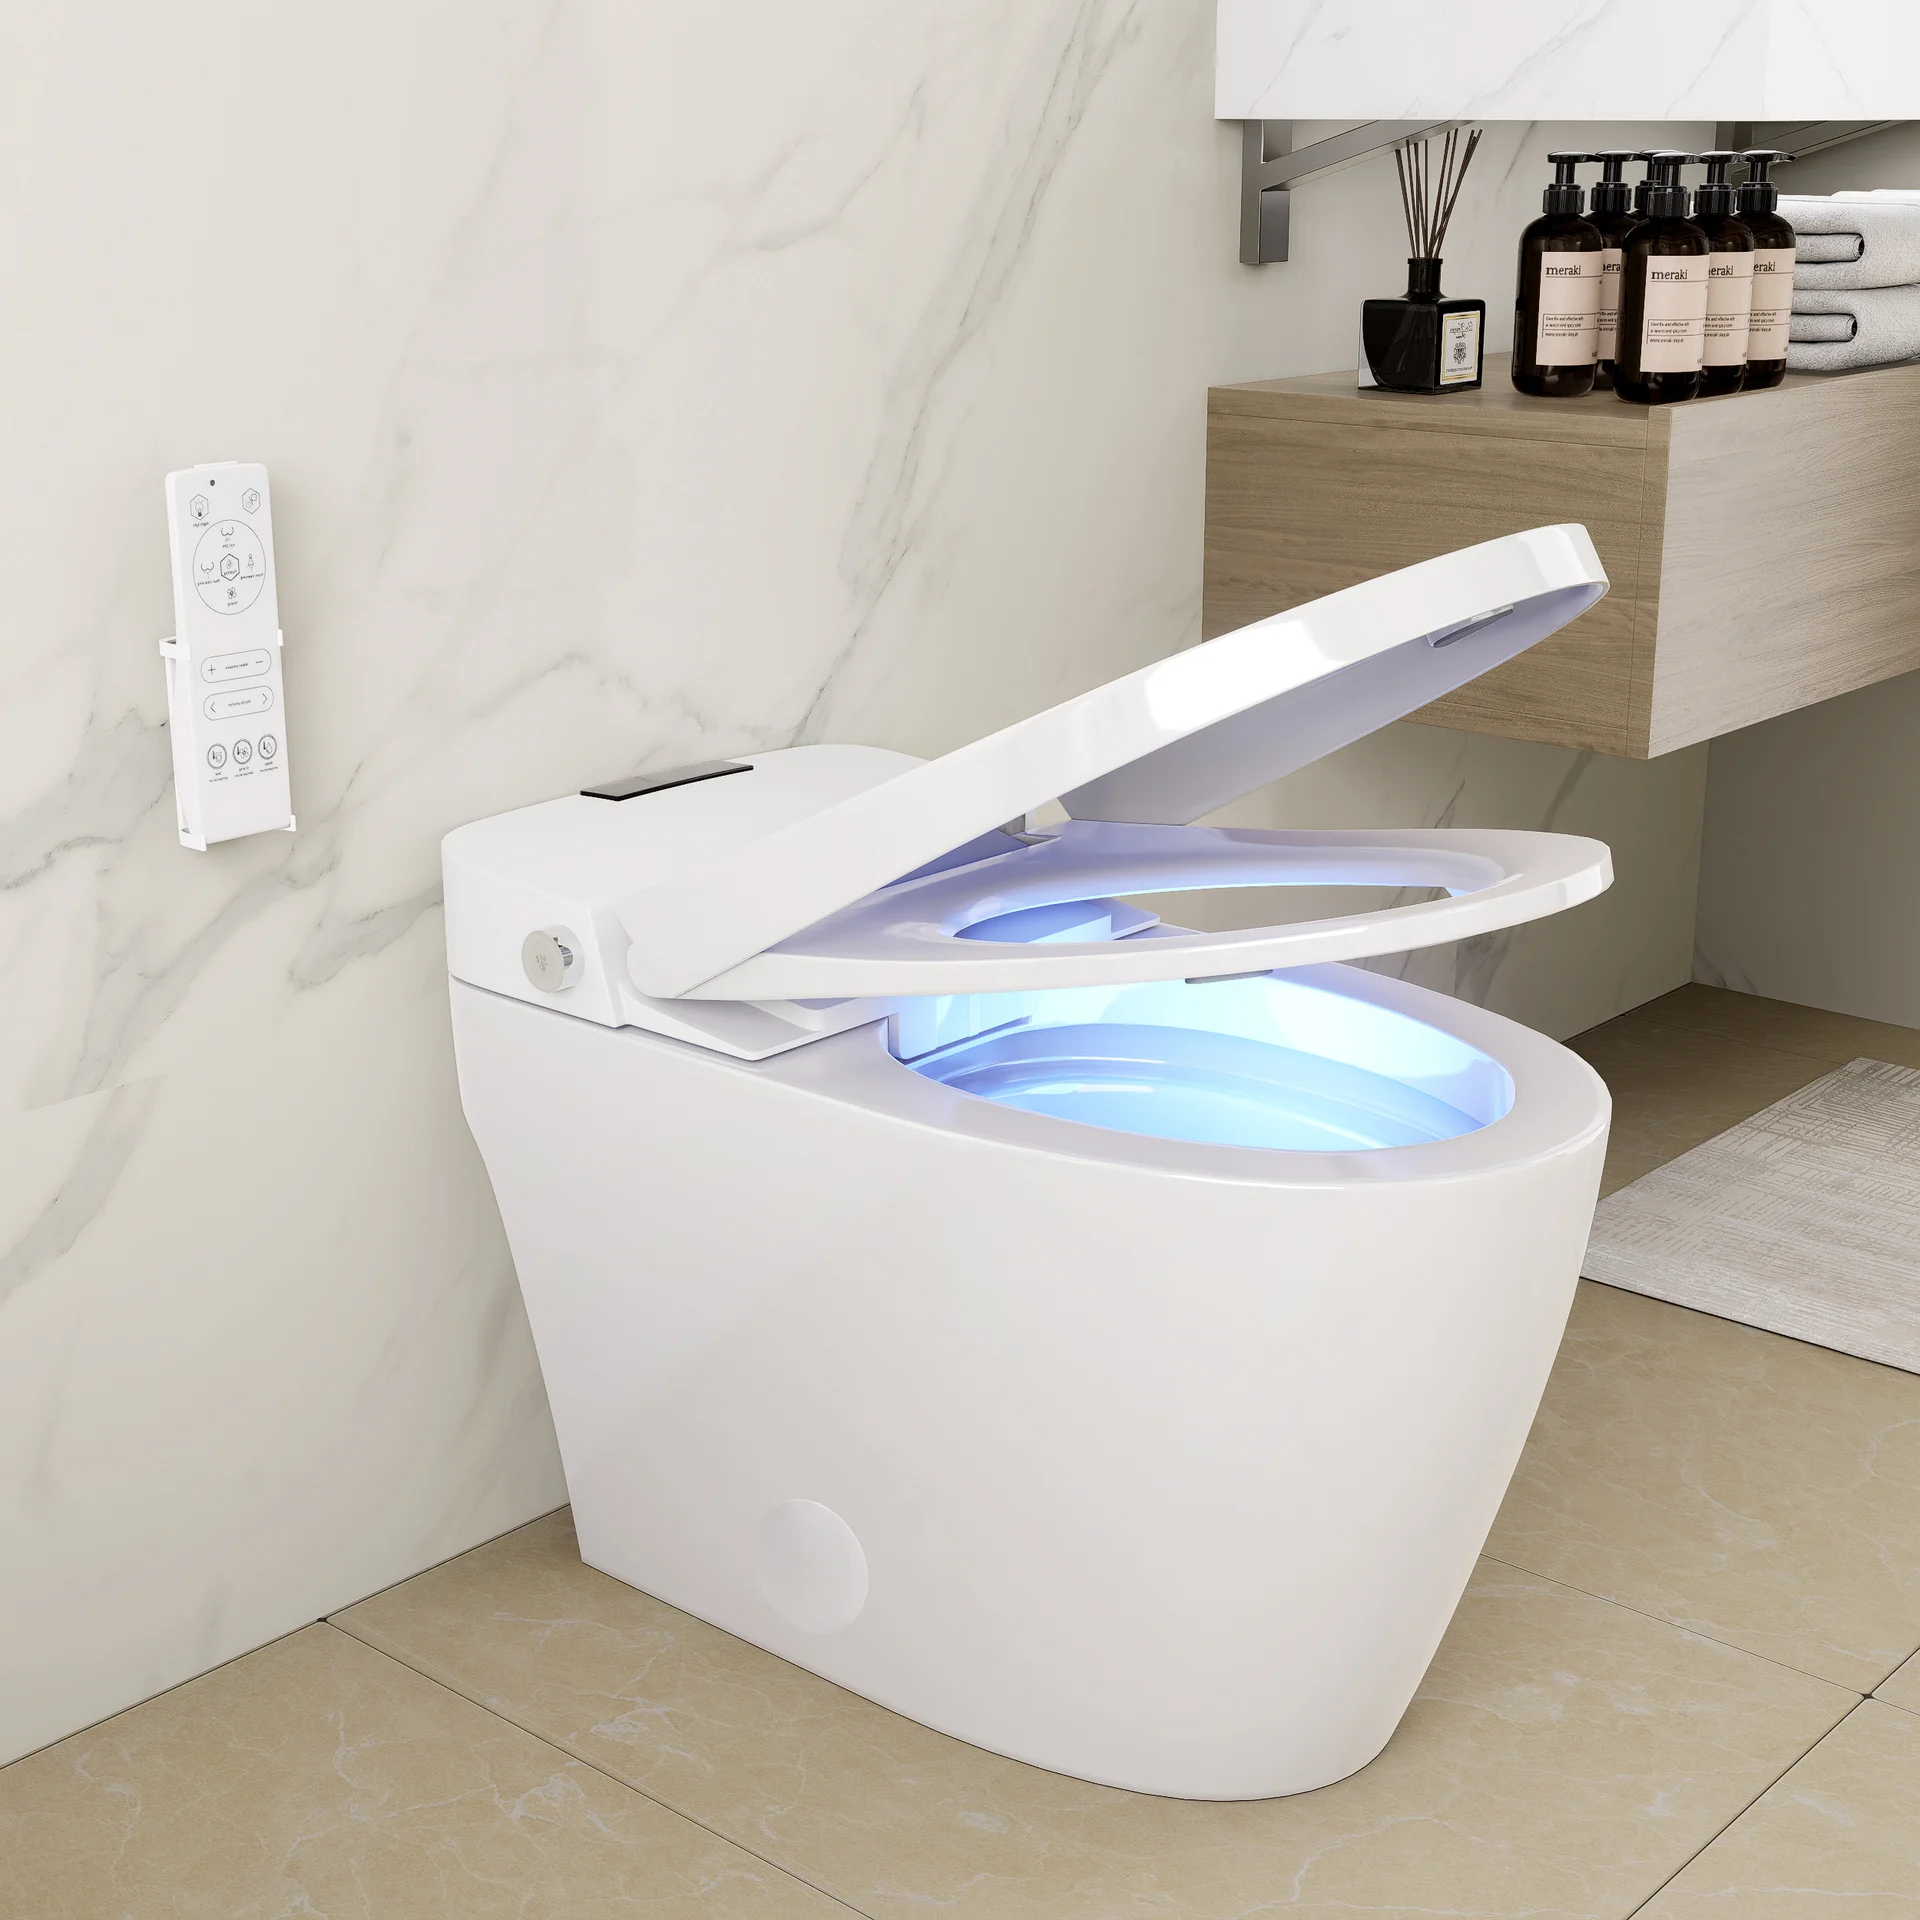
Source: AX4 Smart Bidet Toilet with Foot Sensor Flushing
Before you even get rid of your old toilet, you’ll need to get your bathroom ready for the installation process. This prep work should help to avoid more than a few issues later on. But, it shouldn’t have to add much extra time or effort into it.
Instead, it’s a relatively simple three-step process.
1. Measure the Rough-In Distance
The rough-in distance is the distance between the wall and the center of the toilet drain bolts. Most smart toilets use a standard 305 mm rough-in, but some compact models have a 254 mm rough-in.
Measure carefully so you know what’s already in your bathroom. It saves the time and effort of needing to either replace the smart toilet before installing or needing to do a whole lot more work.
2. Check the Water Pressure
Smart bidet toilets perform best with stable water pressure. Low pressure can affect the nozzle cleaning and flush performance. If your bathroom has low water pressure, it could be worth looking into how you can improve it.
This wouldn’t just benefit the smart toilet, but also your shower, sink, and other areas. Thankfully, addressing high or low water pressure doesn’t need to be too much of an issue. If you’re not able to adjust this yourself, contacting your water company makes it relatively easy.
3. Confirm Electrical Access
You’d be surprised by how many people overlook the fact smart toilets need electrical power so they can operate properly. Make sure:
- The outlet is within cord reach;
- The outlet is GFCI protected;
- No extension cords are needed.
By double-checking everything in your bathroom ahead of time, you avoid a lot of time, effort, and hassle once you’re installing your smart toilet. There’s no reason not to spend a little time on it.
How to Install a Smart Toilet: Step-by-Step Guide
Installing a smart toilet can take a bit of time, but it isn’t exactly the most complicated of processes. With the right DIY skills and a bit of know-how, it’ll be relatively straightforward. It’s just a matter of taking the right steps, and in the right order.
Thankfully, a seven step process should make it straightforward and let you avoid more than a few issues.
1. Turn Off the Water Supply
Turning off the water supply is the quickest and easiest part of the process, but it’s also relatively easy to overlook. Make sure you get this out of the way. Nobody wants to risk flooding their bathroom later on in some of the next steps.
You’ll also need to flush the toilet a few times after this to get rid of the water that’s already in the toilet. Mop up any leftover water with a cloth or something similar to make sure everything’s bone dry. This should only take a few minutes to do.
2. Remove the Existing Toilet
Now you’ll need to remove the toilet that’s already there. This starts with disconnecting the water supply line with an adjustable wrench. Depending on your toilet, this could take a few minutes and need a bit of elbow grease, but it shouldn’t have to be too hard.
After that, you need to:
- Remove the bolt caps;
- Unscrew the mounting bolts, and;
- Carefully lift the old toilet away.
Then it’s just a matter of scraping away the old wax ring from the flange. Again, this shouldn’t have to take too long, though you’ll have to put a bit of elbow grease into it.
3. Install the New Wax Ring or Seal
Speaking of which, you’ll now need to add a new wax ring or rubber gasket to the flange. Removing the old one first lets you make sure you can add this smoothly and without any issues. But, adding this for a smart toilet can be a little tricky.
The installation instructions here can often differ from model to model, with some using proprietary models. Double-check the manufacturer’s instructions for this so you know exactly what to do. Thankfully, manufacturers try to keep this as simple as possible.
4. Position the Smart Toilet
Next is carefully lowering the smart toilet onto the mounting bolts. This is where many people struggle, as smart toilets tend to be heavier than their more traditional counterparts. It could be worth having someone help with this part to avoid dropping the toilet and damaging anything.
Once you’ve properly positioned the toilet, it’s time to:
- Press firmly so there’s a proper seal.
- Tighten the bolts evenly.
- Avoiding overtightening to prevent any cracking.
It’s worth using a level when you’re doing this to make sure everything’s even. None of us want to sit on a slanted toilet, after all, and it could even lead to some plumbing issues later on, like small leaks.
5. Connect the Water Supply
With that out of the way, it’s time to connect the water supply. This is easy to do, as it just involves attaching the water supply hose and making sure it’s tightly secured. If the connections are threaded, try using Teflon tape to help with this.
You should then turn the water back on slowly and be on the lookout for any leaks. Ideally, there wouldn’t be any. If there are any, it could mean something’s slightly wrong and needs to be redone.
In most of these cases, it could just be a matter of re-tightening the nuts and taking similar steps.
6. Plug in the Smart Features
Once any potential leaks have been taken care of, you’ll have to connect the toilet to the GFCI outlet. Most smart toilet models are set to power automatically once this connection has been made. If it doesn’t, check the manufacturer’s instructions for exactly what to do.
Then, it’s a matter of checking the:
- Bidet Spray
- Heated Seat
- Flush System
- Dryer
- Motion Sensors
Don’t forget any other features of the smart toilet to make sure they’re all working properly. You might need to do a bit of troubleshooting when doing this.
A lot of this depends on the model itself and whether everything’s done correctly. If there are any issues, either the manual should help or you could try the manufacturer’s helpline in case there are any issues outside of your control.
7. Seal Around the Base
Once everything’s working properly, you’re almost good to go. There are just a few more areas to sort out. The most notable, and important, of these is to apply a thin bead of silicone caulk around the toilet base.
This offers a few benefits, like improving the overall appearance near the base, preventing moisture buildup, and adding stability. It’s worth leaving a small gap at the back of the toilet to find any hidden leaks that could come up later.
After that, you just need to clean around the area and you’re good to go. Depending on how neat you were with installing the smart toilet, this wouldn’t have to take too long.
Common Installation Mistakes to Avoid
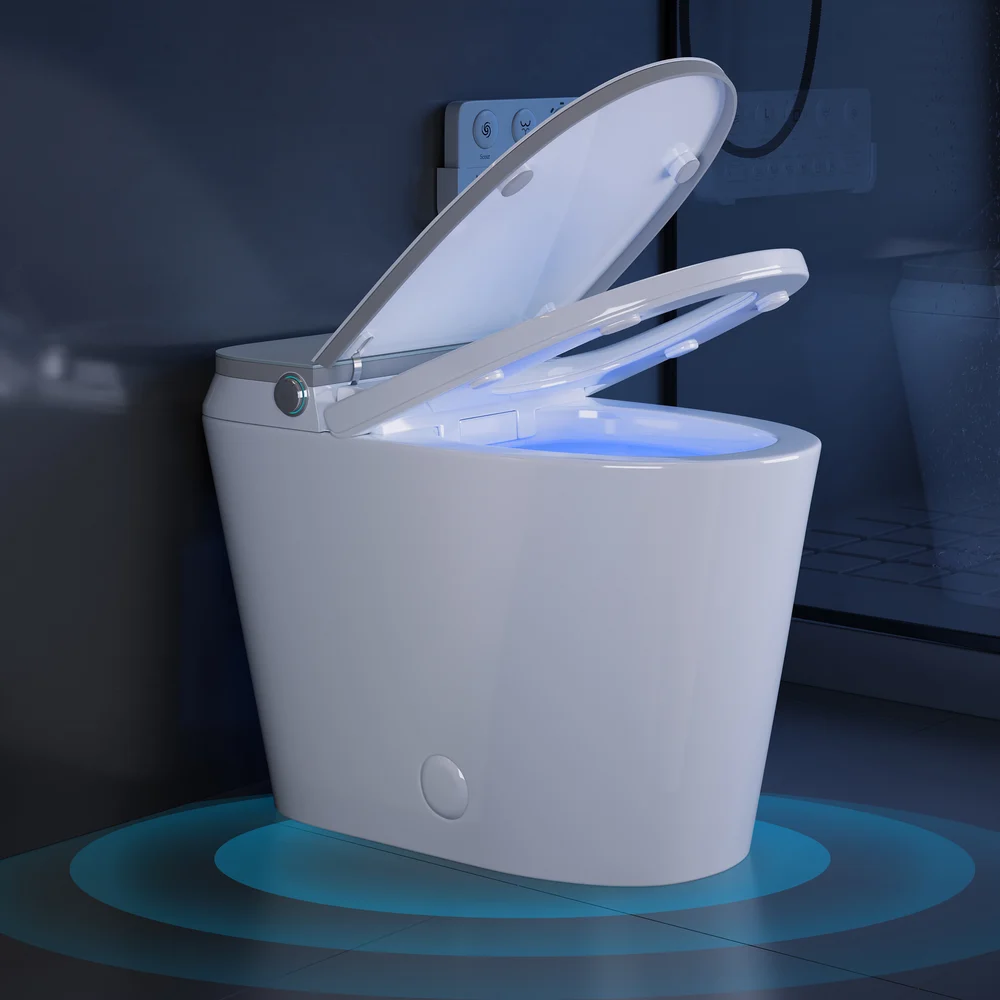
Source: Smart Bidet Toilet with Powerful Flush, Built-in Tank, Foam Shield
Even when you’re an experienced DIYer and carefully followed all of the steps above, things can still go wrong. That’s especially true when it comes to making mistakes. These can be a lot more common than you’d think, with some of the more notable being:
- Overtightening Bolts - It’s natural to want to make sure your smart toilet is properly secure. But, overtightening the bolts leads to cracking and other issues.
- Skipping Leak Testing - Once you think you’ve done everything right, it’s natural to believe you’re done. Skipping leak testing could mean needing to start over later.
- Ignoring Electrical Requirements - Not having a certified GFCI-installed outlet could lead to electrical issues with your smart toilet, even right after installation.
Thankfully, knowing about these ahead of time makes them easier to avoid. At a minimum, they shouldn’t affect your smart toilet installation too much.
Smart Toilet Features: Comparison Table
Feature | Basic Smart Toilet | Mid-Range Model | Luxury Smart Toilet |
Automatic Flush | Yes | Yes | Yes |
Heated Seat | No | Yes | Yes |
Bidet Wash | Basic | Adjustable | Advanced Multi-Spray |
Air Dryer | No | Yes | Yes |
Remote Control | Optional | Included | Included |
Self-Cleaning Nozzle | Basic | Advanced | UV Sterilization |
Night Light | No | Yes | Yes |
Water Efficiency | Standard | High Efficiency | Ultra Efficient |
Price Range | $300 to $700 | $700 to $1,500 | $1,500+ |
Expert Tips Before You Buy & Install
It’s one thing knowing how to install a smart toilet, but it’s quite another knowing whether or not you should buy and install one. And, you’ll need to make sure you find the perfect one for your needs.
Thankfully, this doesn’t have to be nearly as hard as you’d think. With the right tips, it should be a bit more straightforward. Some of the more helpful of these are:
- Make sure the toilet is easy to clean and maintain as time goes on.
- Check its water consumption rates, especially when you lead an eco-friendly life.
- Double-check the measurements to make sure it’s the right size for your bathroom.
- Research specific installation requirements for the options you’re considering.
With these in mind, you should make sure you find the best smart toilet for your needs. It’ll be relatively easy to install, and you’ll have a stylish, practical, and functional toilet before you know it.
Final Thoughts
Once you know how to install a smart toilet, you could save yourself quite a bit of money on the installation process. While you’ll have to put in some time, effort, and elbow grease, it’s far from as overwhelming as you could think.
If you’re planning on getting a smart toilet, check out our modern collections today. You’ll have a sleek, functional, and aesthetically appealing smart toilet before you know it. And, it shouldn’t even have to be too hard to install.
FAQs
Is it hard to install a smart toilet?
For anyone with DIY and basic plumbing skills, smart toilet installation can be manageable. The biggest challenge is often ensuring there’s access to a nearby electrical outlet.
Do smart toilets need a plumber?
Not always, as many people can install them themselves. If plumbing modifications or electrical work are needed as part of the installation, though, you’re better off hiring a pro.
How long does installation take?
For a standard replacement, this should take between two and three hours. But, it can depend on your skillset and similar factors.
Can a smart toilet work without electricity?
Most smart toilets flush normally during blackouts, but the advanced features, like heated seating, aren’t going to function.