

Ever found yourself running out of counter space or scrambling to find the right spice while cooking Thanksgiving dinner?
You’re not alone. Between the turkey, the side dishes, and the mountain of dishes, preparing a Thanksgiving feast can feel like a full-time job. There’s the turkey that needs brining, the gravy that needs stirring, and the mashed potatoes that somehow keep disappearing. But here’s the good news — with a few smart kitchen upgrades, you can turn the chaos into calm and make this year’s cooking experience faster, cleaner, and actually enjoyable.
By the way, if you’re wondering about the turkey, don’t worry — we’ve got a detailed step-by-step recipe later on to guide you through the main event.
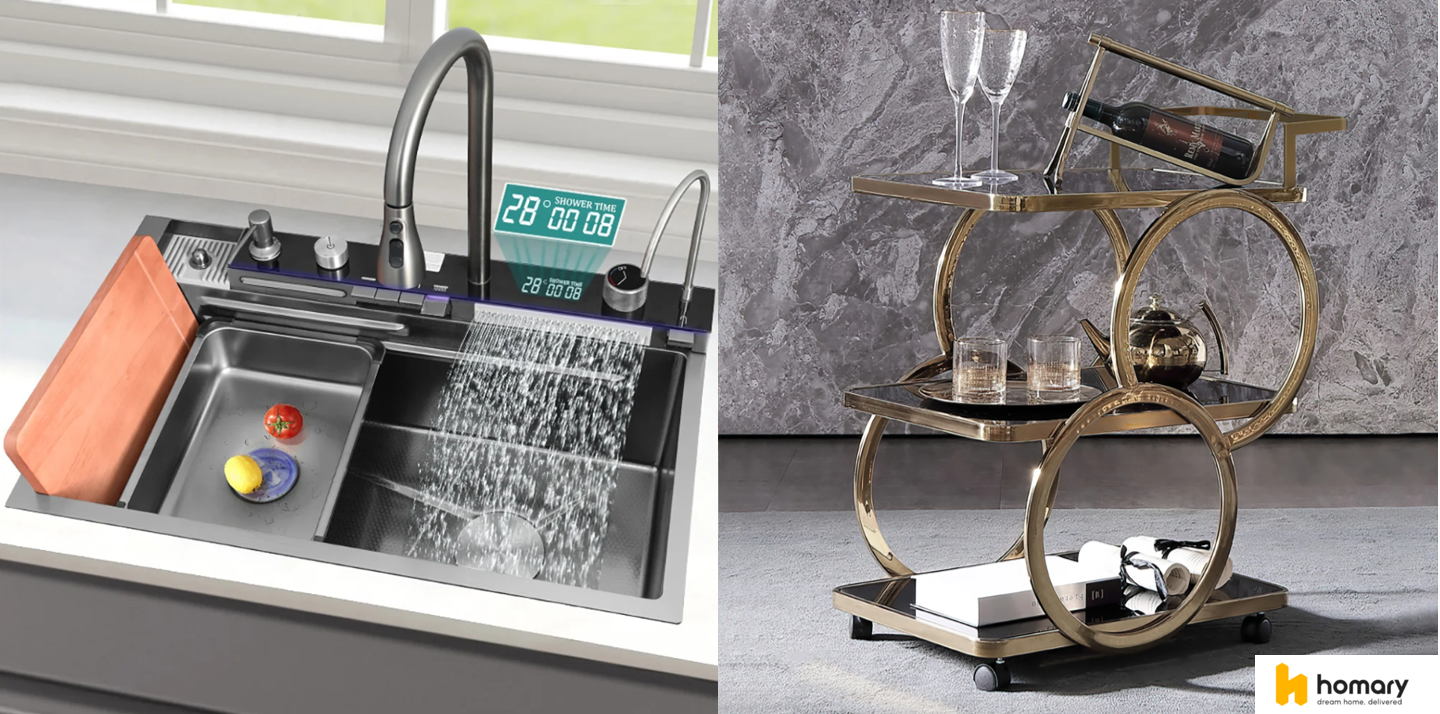
1. Upgrade to an All-in-One Sink
If you’ve ever wished you could wash, chop, and prep without moving 25 mm — this is your sign.
An all-in-one sink is like a multitasking magic station for your kitchen. It usually comes with a cutting board, colander, drying rack, and even sliding trays right on top of your sink. That means fewer trips back and forth between the counter and the sink — and more time focusing on the turkey.
Imagine rinsing vegetables while the gravy simmers, or slicing bread without creating a mess across the entire counter. Cleanup becomes ridiculously easy, and the best part? You can keep the prep area neat even when the kitchen’s in full holiday mode. For busy home cooks, that’s priceless.
2. Add Flexibility with a Kitchen Cart
Think of a kitchen cart as your portable sous-chef. It gives you extra storage, workspace, and mobility — a real MVP during the holidays. You can roll it next to your stove when cooking, or move it to the dining area as a serving station for drinks, appetizers, or desserts.
Need a little extra counter space while mixing the stuffing? The cart’s there. Want an easy way to serve hot dishes straight from the oven? Roll it in. After dinner, it even doubles as a mini bar for your guests to help themselves.
Choose one with wheels and multiple shelves — that way, you can tuck it away after the feast or repurpose it year-round for coffee, snacks, or weekend brunch setups.
3. Store Smarter with Food Storage & Canisters
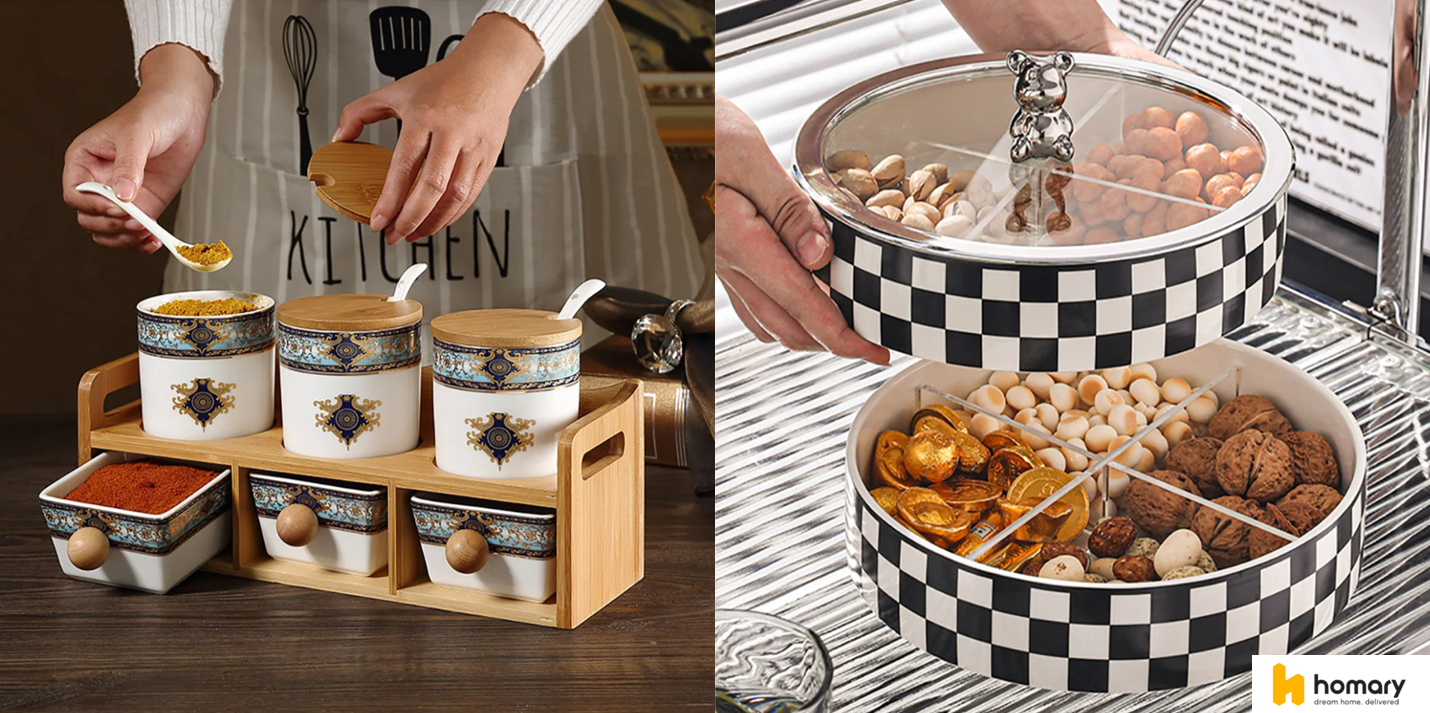
Let’s be honest — half of Thanksgiving stress comes from running out of fridge or counter space. Between leftovers, sauces, and half-used ingredients, it’s chaos in Tupperware land. That’s where Food Storage & Canisters come in.
These airtight containers are perfect for organizing your ingredients ahead of time — flour, sugar, herbs, and prepped veggies all have their place. The transparent design means no more guessing what’s inside or opening ten lids before finding the cranberry sauce. And after dinner, they’re lifesavers for keeping leftovers fresh — whether it’s turkey slices or pumpkin pie filling.
4. Keep Flavor in Check with Spice Jars
When you’re juggling rosemary, thyme, paprika, and sage all at once, an organized spice setup is the unsung hero of Thanksgiving. Stylish spice jars keep everything visible and within arm’s reach — so you can grab your secret seasoning in seconds.
No more mystery bottles hiding at the back of your cabinet or knocking over a dozen jars while searching for nutmeg. Plus, matching spice jars add that Pinterest-worthy aesthetic to your kitchen — tidy, uniform, and incredibly satisfying to look at.
And let’s face it, a well-labeled spice rack just makes you feel like a pro chef. Bonus: it also impresses guests when they sneak a peek at your kitchen setup while you’re plating the turkey.
Thanksgiving is about gathering, gratitude, and good food—not kitchen chaos. So before the big day arrives, take advantage of Black Friday deals to upgrade your kitchen.From a sleek all-in-one sink to practical storage canisters, every small change makes a big difference when the oven’s full and family’s hungry.
And if you’re still wondering how to roast the perfect turkey—don’t worry, we’ve got you covered.
Check out our step-by-step turkey recipe below to make your feast truly unforgettable.
Ingredients Preparation:
1. Prepare the Turkey
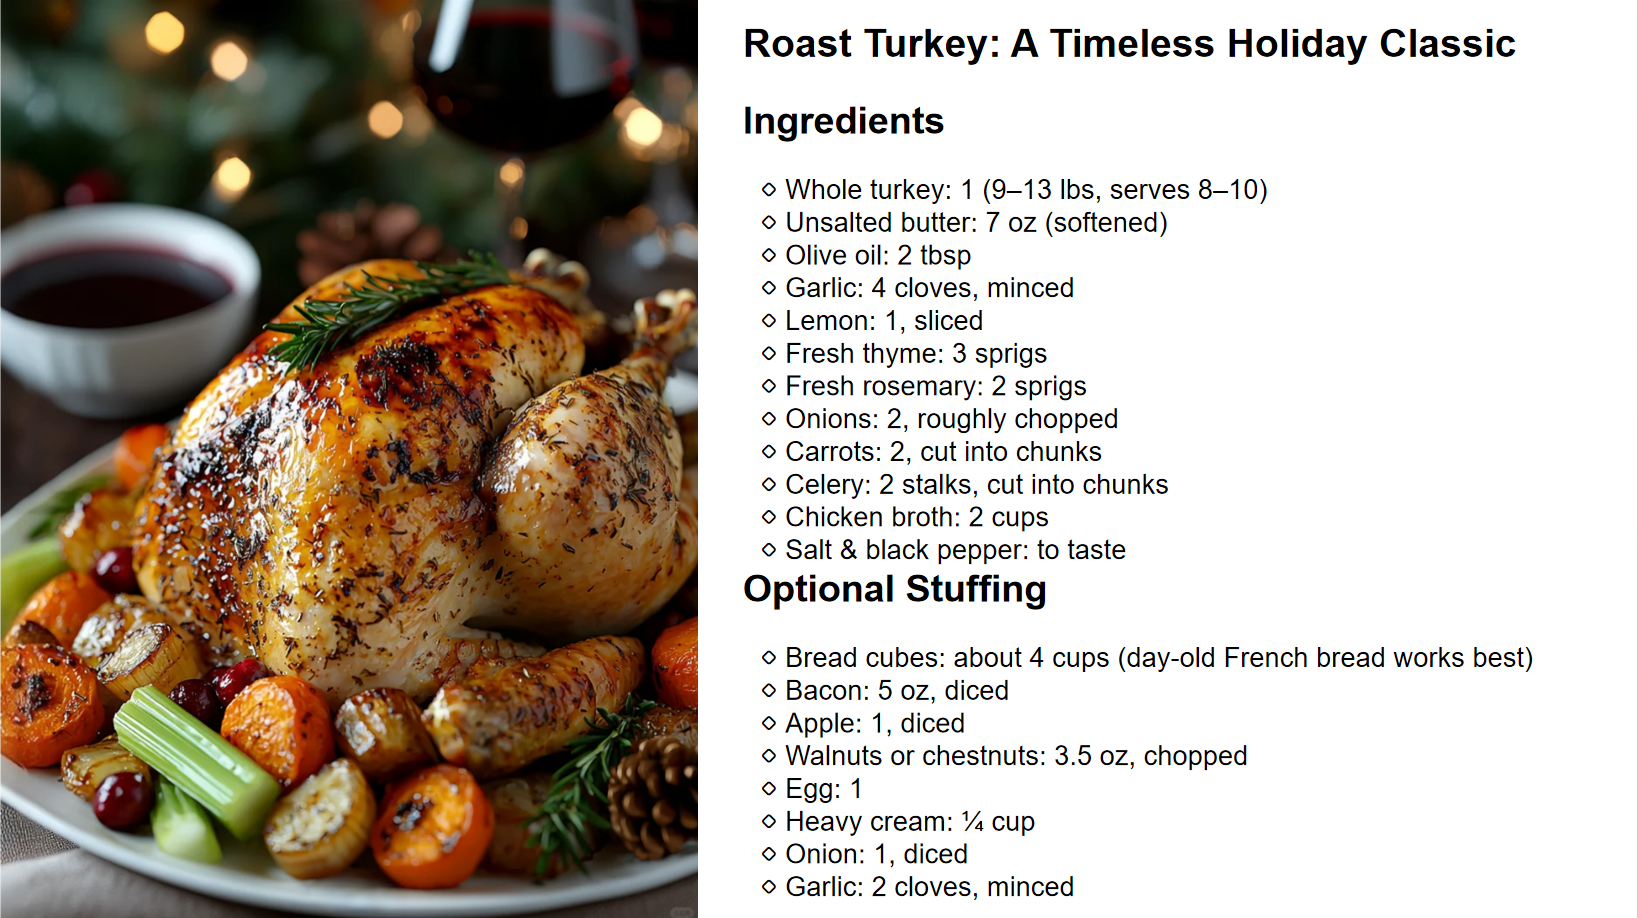
Rinse and pat the turkey dry with paper towels. Rub the inside and outside generously with salt and pepper. Massage softened butter all over the skin. Stuff the cavity with minced garlic, thyme, rosemary, and lemon slices for a burst of aroma.
2. Make the Stuffing (Optional)
In a skillet, cook the bacon until lightly crispy. Add the onion and garlic, and sauté until translucent. In a large bowl, combine the bread cubes, apple, nuts, and cooked bacon mixture. Stir in the cream and beaten egg, then season with salt and pepper. Lightly fill the turkey cavity—don’t pack it too tightly or it may cook unevenly.
3. Prepare the Roasting Pan
Preheat your oven to 350°F (177°C). Spread the chopped onions, carrots, and celery on the bottom of a large roasting pan to create a “vegetable bed.” Place the turkey on top of the veggies, then pour in about ⅓ of the chicken broth to keep everything moist during roasting.
4. Roast the Turkey
Place the turkey in the center rack of the oven and roast for 2½–3 hours, about 30 minutes per kilogram (roughly 15 minutes per pound). Every 30–40 minutes, baste the turkey with the pan juices or melted butter to keep the skin golden and juicy.
If the skin browns too quickly, loosely cover it with aluminum foil halfway through. The turkey is ready when a meat thermometer inserted into the thickest part (like the breast or thigh) reaches 165°F (74°C).
5. Rest and Serve
Once cooked, remove the turkey and let it rest for 15–20 minutes before carving to allow the juices to redistribute. Transfer to a platter, garnish with fresh herbs, and serve with roasted veggies or cranberry sauce.
You can use the leftover pan drippings to make a rich gravy. Classic sides include mashed potatoes, green beans, or chestnut puree. Pair it with a glass of Burgundy or a smooth Chardonnay for the perfect holiday dinner.